


Django is a python-based web framework that follows the model-template-views (MTV) architectural pattern. It comes with ready-made components, and you can build versatile and scalable web applications.
But how do you set up your Django project, and if you are using Ubuntu, what are the recommended installation packages needed?
By the end of this guide, you will learn how to:
Set up a virtual environment.
Install Python and Django.
Set up a Django project from scratch.
Set up Django apps.
Prerequisites
Before you begin setting up your new Django project, here are a few prerequisites that are needed. You should have:
Basic knowledge of how to use the terminal.
Knowledge of how to install software packages.
With that said, here are the steps you need to follow to set up your Django project.
Step 1 — Setting Up Your Environment
Installations
There are several installations required for you to start a Django project successfully. They include: Python, Pip and Virtualenv.
Below you will find guidelines on how to install each one of them.
Python
Since Django is a python-based web framework, you first need to check if Python is installed on your machine.
Open up the terminal and ensure that you are the root user.
If you have previously installed python on your machine, type the following command to check the version available.
$ python3 -V
Otherwise, you can begin by installing the latest version of python. Start by updating and upgrading your APT repository:
$ sudo apt-get update
$ sudo apt-get -y upgrade
Once complete, install the newest version of python:
$ sudo apt-get install python3
Check to see the version of python your machine is currently running.
$ python3 -V
Pip
The next step is to set up pip, a Python-based package manager. To get the latest version of pip:
$ sudo apt-get install -y python3 pip
Check the version of Pip installed using this command:
$ pip3 -V
Once you have Python and Pip, you can install your virtual environment and set up your Django project.
Virtual environment
A virtual environment is a Python tool for managing dependencies and isolating projects.
It enables local installation of Python site-packages (third-party libraries) for a specific project instead of global installation.
To set up a virtual environment:
$ pip3 install virtualenv
After successful installation, you can check the version using:
$ virtualenv --version
Preparing Your Environment
To begin preparing your environment for your Django project, navigate to a folder that holds any/all of your projects.
For the sake of this tutorial, our projects folder is found on the desktop.
Change the directory to the project folder.
~$ cd Desktop/projects
Then create a new folder for your Django project and navigate into it. You will name your Django project folder however you please. Here we will use blogSite/.
~/Desktop/projects$ mkdir blogSite
~/Desktop/projects$ cd blogSite
Next, set up a new virtual environment. You can call your virtual environment env. To set up a virtual environment:
$ virtualenv env
Then activate the virtual environment:
$ source env/bin/activate
You will see the (env) Prefixed on the path to your current directory. If you wish to deactivate the virtual environment:
(env)$ deactivate env
To know that the deactivation has worked, you will no longer see the (env) prefix on your path.
Step 2 — Installing Django and Dependency Pinning
Next, you will proceed to install Django and set up your project.
Django is a high-level Python web framework that promotes rapid development and pragmatic design.
Django comes with ready-made components to use, allowing you to focus on developing your web applications rather than the underlying infrastructure.
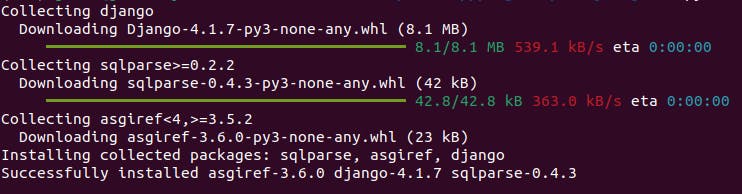
To install Django:
(env)$ python3 -m pip install django
You should see this after successful installation.
Next, pin your dependencies to a requirements.txt file.
This allows you and other developers to replicate the exact conditions of your project build.
Type the following command on your terminal:
(env)$ python3 -m pip freeze > requirements.txt
Your directory should now be looking like this:

Note: To install a specific version of Django add the version number to the installation command:
(env)$ python3 -m pip install django==4.1.7
Also, if you want to install dependencies from a pre-existing project, use the following:
(env)$ python3 -m pip install -r requirements.txt
Step 3 — Project Setup
A Django project is a high-level unit of organization for a collection of configuration apps for your website. Your Django project can have multiple apps.
In this section, you will make a skeleton Django website. As mentioned above, Django already comes with ready-made components to use.
To begin with, start a new project called myBlog. This will create a myBlog/ folder on your current directory.
(env)$ django-admin startproject myBlog
Then change your directory to the newly created project/folder by running the following command:
(env)$ cd myBlog/
Note: Do not name your projects after built-in Django/Python components such as
Django.
The startproject Command created:

Here is a rundown of the files and folders in the myBlog/ directory/folder.
myBlog/- acts as the container for your projects and can be renamed.manage.py- it is a command line utility that lets you interact with Django. Withmanage.pyyou can create apps, work with databases and start the development server.myBlog/- this is the actual python package for your project. You will use the package namemyBlogfor importing anything you need in your project.__init.py__- it is an empty file that tells Python that this directory should be considered a Python package.settings.py- this file contains details on database configuration and the location of your project's static files, and it is where you register any applications (apps) made.urls.py- this file acts as a Table of Contents for your project. You can make URL declarations and define the site's URL-to-view mappings on this file.asgi.py- acts as an entry point for ASGI-compatible web servers to serve your project.wsgi.py- acts as an entry point for WSGI-compatible web servers to serve your project.
Step 4 — Powering Up the Development Server
Next, you need to learn how to power up the development server for your new myBlog project/site.
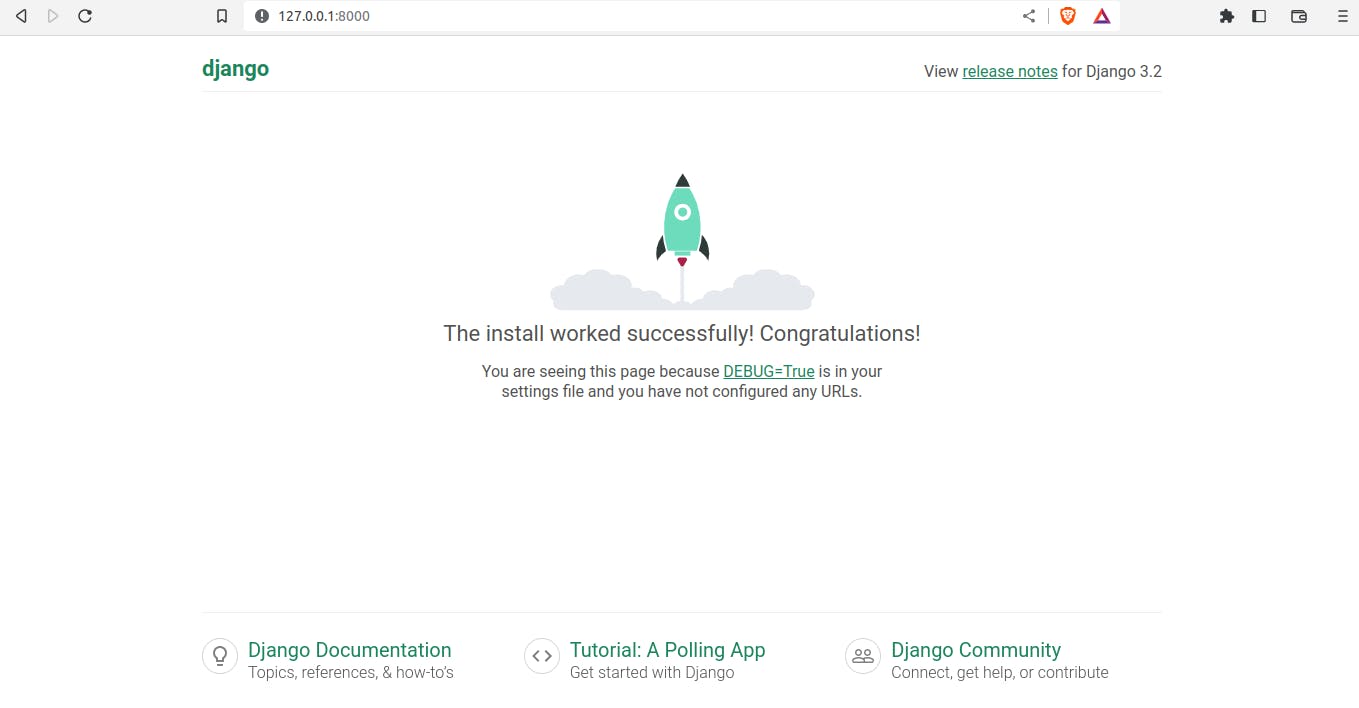
To power up your new Django project development server, run the following:
(env)$ python3 manage.py runserver
If your project is running successfully, you will see:

You will also see a warning indicating that there are unapplied migrations.
Ignore the unapplied migrations warning and open the development server on the port. http://127.0.0.1:8000/.
To exit the development server on your terminal, use Ctrl + C
Step 5 — Creating Your First App
Now that you have set up your environment and created your Django project, you can set up your first app.
A Django app is the low-level unit of your web application. You can create your app anywhere on the Python path.
However, the best practice is to have all the apps of your project in the same directory as manage.py.
This means that your app will be imported as its top-level module rather than a submodule of your project.
Therefore, ensure you are in the same directory as manage.py then type:
(env)$ python3 manage.py startapp newsPage
This command creates a newsPage/ Directory with the following structure:
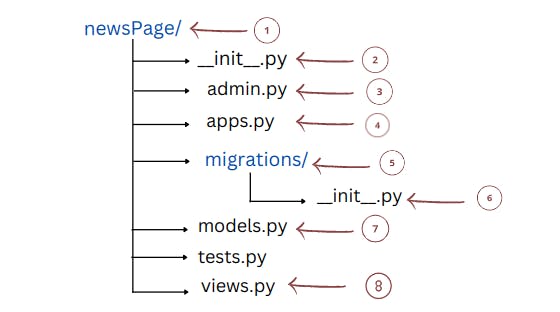
Django auto-generates the basic directory structure of the newsPage app.
Most of these files and folders are named after their intended purpose.
Let us look at what each of these files is meant for.
newsPage/- actual app folder.__init__.py- this file allows Django to use code from different apps to compose the overall functionality of your web application.admin.py- this file is where you will do the admin site configuration.apps.py- file meant for application registration.migrations/- a folder that stores migrations files.migrations/__init__.py- is a migration file that allows you to update your database automatically as you change your models.models.py- file where you will design all your models. This file contains code that allows Django to communicate with your web application's database.views.py- this is the file that houses most of the web app's code logic.
With this, you have already built a skeleton web application with Django; the next step is to develop your site's views and models and migrate your databases. Read more from the Official Documentation for more guidance on creating views, models, and URL interlinking.
References
Django official Documentation
MDN Web Docs
Real Python
Conclusion
In this article, you have learned:
How to prepare your environment and perform the necessary installations
How to set up a Django project from scratch
How to power your development server
And how to create your first Django app.
We have covered all the steps necessary to get a Django web app up and running. You can go ahead and find and project idea you like and implement it. Django is a powerful web framework for those who want to build fast.
Follow me on Twitter and Dev.to for more tutorials and guides.
Keep building! 🌟